Trezor.io/Start – The Complete Guide to Setting Up Your Trezor Hardware Wallet
Welcome to Trezor.io/Start, the official starting point for safely setting up your Trezor hardware wallet. Whether you are a first-time cryptocurrency user or an experienced investor looking to secure your assets, this guide provides everything you need to know. Trezor wallets are designed to give you full control over your crypto by keeping your private keys offline and protected from hackers, malware, and phishing attacks.
In this comprehensive guide, you will learn how to unbox, set up, and secure your Trezor wallet, as well as best practices for long-term crypto safety.
Why Choose a Trezor Hardware Wallet?
Cryptocurrencies provide unprecedented financial freedom, but that freedom comes with responsibility. Unlike traditional banks, no one can recover lost or stolen crypto for you. A Trezor hardware wallet ensures the highest level of security while allowing you to remain in full control of your assets.
Key Benefits of Trezor Wallets:
Offline Private Key Storage: Your private keys never leave the device.
Protection Against Online Threats: Secure against malware, phishing, and keyloggers.
Support for Hundreds of Coins: Manage Bitcoin, Ethereum, and thousands of other cryptocurrencies.
User-Friendly Interface: Trezor Suite provides an intuitive way to manage your crypto.
Ownership Control: You have full control over your funds without relying on exchanges.
Trezor wallets are trusted by millions of users worldwide and are recognized as one of the most secure ways to store cryptocurrency.
What You Need Before Getting Started
Before starting your setup at Trezor.io/Start, make sure you have:
A Trezor hardware wallet (Trezor Model One or Trezor Model T)
A computer or smartphone with internet access
The original USB cable for connection
A private space to write down your recovery seed
Important: Only use Trezor devices purchased from official sources. Devices with pre-set recovery seeds or PINs may be compromised.
Step 1: Access Trezor.io/Start and Install Trezor Suite
Trezor Suite is the official desktop and web application for managing your Trezor wallet securely.
Go to Trezor.io/Start.
Download Trezor Suite for your operating system (Windows, macOS, Linux) or use the web version.
Install and open Trezor Suite.
Trezor Suite provides a secure interface for sending, receiving, and managing your cryptocurrency while keeping private keys offline on the Trezor device.
Step 2: Connect and Initialize Your Trezor
After opening Trezor Suite, connect your Trezor device to your computer using the USB cable.
Select “Create a new wallet” on your device.
Choose a PIN code (4–8 digits) to protect your wallet from unauthorized physical access.
Confirm your PIN directly on the device.
Security Note: Entering the wrong PIN multiple times will lock the device, ensuring your funds remain protected from unauthorized access.
Step 3: Backup Your Recovery Seed
Once your device is initialized, it will generate a recovery seed—a set of 12, 18, or 24 words depending on your Trezor model. This seed is the master key to your wallet.
Recovery Seed Best Practices:
Write the seed down manually on the card provided with your device.
Never take photos or store the seed digitally.
Keep the seed offline in a secure location.
Never share it with anyone.
Your recovery seed is the only way to restore access to your crypto if your device is lost, stolen, or damaged. Trezor support will never ask for your seed—anyone who does is a scammer.
Step 4: Confirm Your Recovery Seed
Trezor will ask you to confirm specific words from your recovery seed to ensure it was written down correctly.
This step guarantees:
Your recovery seed is accurate
You have full control of your wallet
You can restore your wallet on another device if necessary
Once verified, your Trezor wallet is fully secured and ready to use.
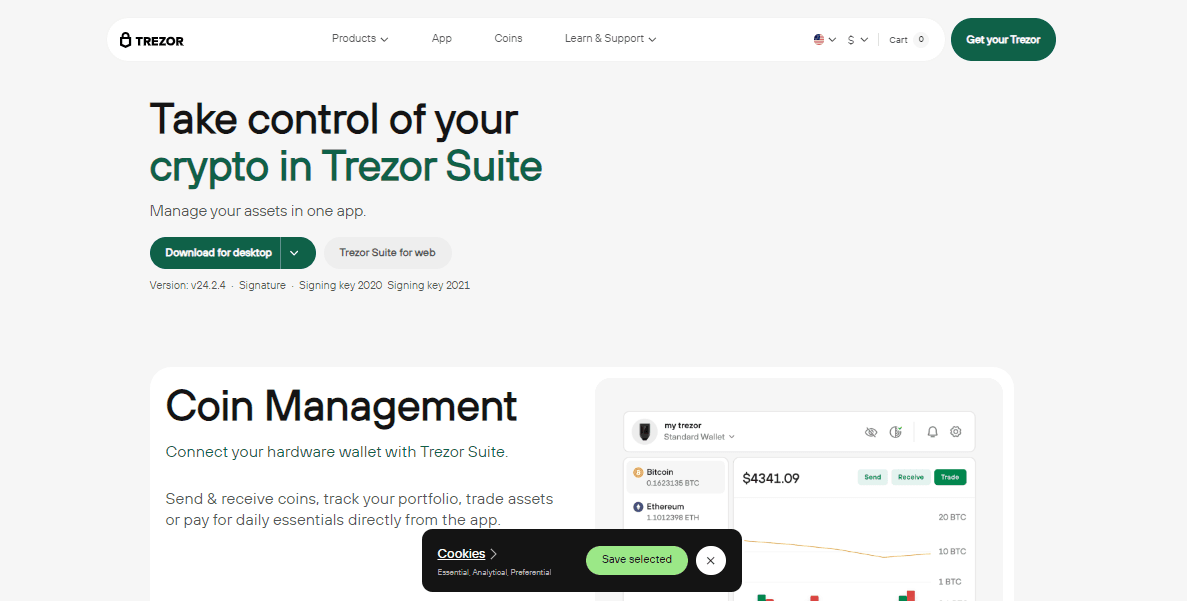
Step 5: Install Cryptocurrency Accounts
Trezor supports a wide variety of cryptocurrencies, including Bitcoin, Ethereum, and many ERC-20 tokens.
Steps to add accounts:
Open Trezor Suite.
Go to Accounts → Add new account.
Choose the cryptocurrency you want to manage.
Follow on-device instructions to authorize the account.
Installing accounts does not move funds; it simply enables your device to interact securely with different blockchains.
Step 6: Sending and Receiving Crypto
With Trezor Suite, you can securely send and receive cryptocurrencies:
To Receive Crypto:
Go to the account in Trezor Suite.
Copy the receiving address displayed on the device screen.
Share the address with the sender.
To Send Crypto:
Enter the recipient address and amount in Trezor Suite.
Verify all transaction details on your device.
Confirm the transaction on the device to sign it securely.
All transactions require physical confirmation on the Trezor device, ensuring your private keys never leave the wallet.
Advanced Security Features
Trezor offers several advanced security measures:
Genuine Check
Trezor Suite automatically verifies that your device is genuine and untampered.
Secure Element (Model T)
The Trezor Model T includes a secure element chip to isolate private data from potential threats.
Passphrase Protection
Add an optional passphrase to create hidden wallets, enhancing security and privacy in case your recovery seed is exposed.
Buying, Swapping, and Staking Crypto
Trezor Suite allows you to interact with your crypto while maintaining full security:
Buy crypto using trusted partners integrated with Trezor Suite.
Swap crypto securely within the suite without exposing your private keys.
Stake supported coins such as Tezos or Polkadot to earn rewards.
All actions require approval on the Trezor device, ensuring that private keys remain offline.
Common Security Mistakes to Avoid
To maximize your crypto safety:
Never enter your recovery seed online or share it.
Only download Trezor Suite from Trezor.io/Start.
Be cautious of phishing attempts via email or social media.
Always confirm transaction details on your device.
Following these rules helps prevent unauthorized access and keeps your crypto safe.
Restoring Your Wallet
If your Trezor device is lost or damaged, your cryptocurrency can be restored using your recovery seed:
Get a new Trezor device.
Select “Recover wallet” on the device.
Enter your recovery seed manually on the device.
After restoring, your accounts and balances will sync with Trezor Suite, giving you full access to your crypto assets.
Long-Term Security Tips
For ongoing protection:
Store your recovery seed in multiple secure locations.
Use fireproof or waterproof backups.
Keep Trezor Suite and firmware updated.
Always verify transactions on your device screen.
Trezor gives you full control, but your vigilance ensures long-term security.
Final Thoughts
Trezor.io/Start is your trusted gateway to secure cryptocurrency ownership. Following the official setup guide ensures that your wallet is properly configured, giving you peace of mind while managing your crypto.
By using a Trezor hardware wallet, you maintain full control over your digital assets, keeping your private keys offline and safe from online threats. Proper setup and adherence to security best practices allow you to confidently send, receive, and manage cryptocurrency while protecting your financial future.
Trezor empowers you with independence, security, and complete ownership of your crypto—making it one of the most trusted solutions in the world.